Travel photography tips
create travel content like a pro
In this guide
Read the entire guide or go straight to the section you want to read more about by clicking on the photos below.
I. Travel photography tips
Let’s get started with the basics: good photography skills & tricks. Here are 7 tips I swear by!
1. Lighting is everything
If you ask me, one of the most important things to pay attention to for every kind of photography is the lighting. Good lighting makes all the difference.
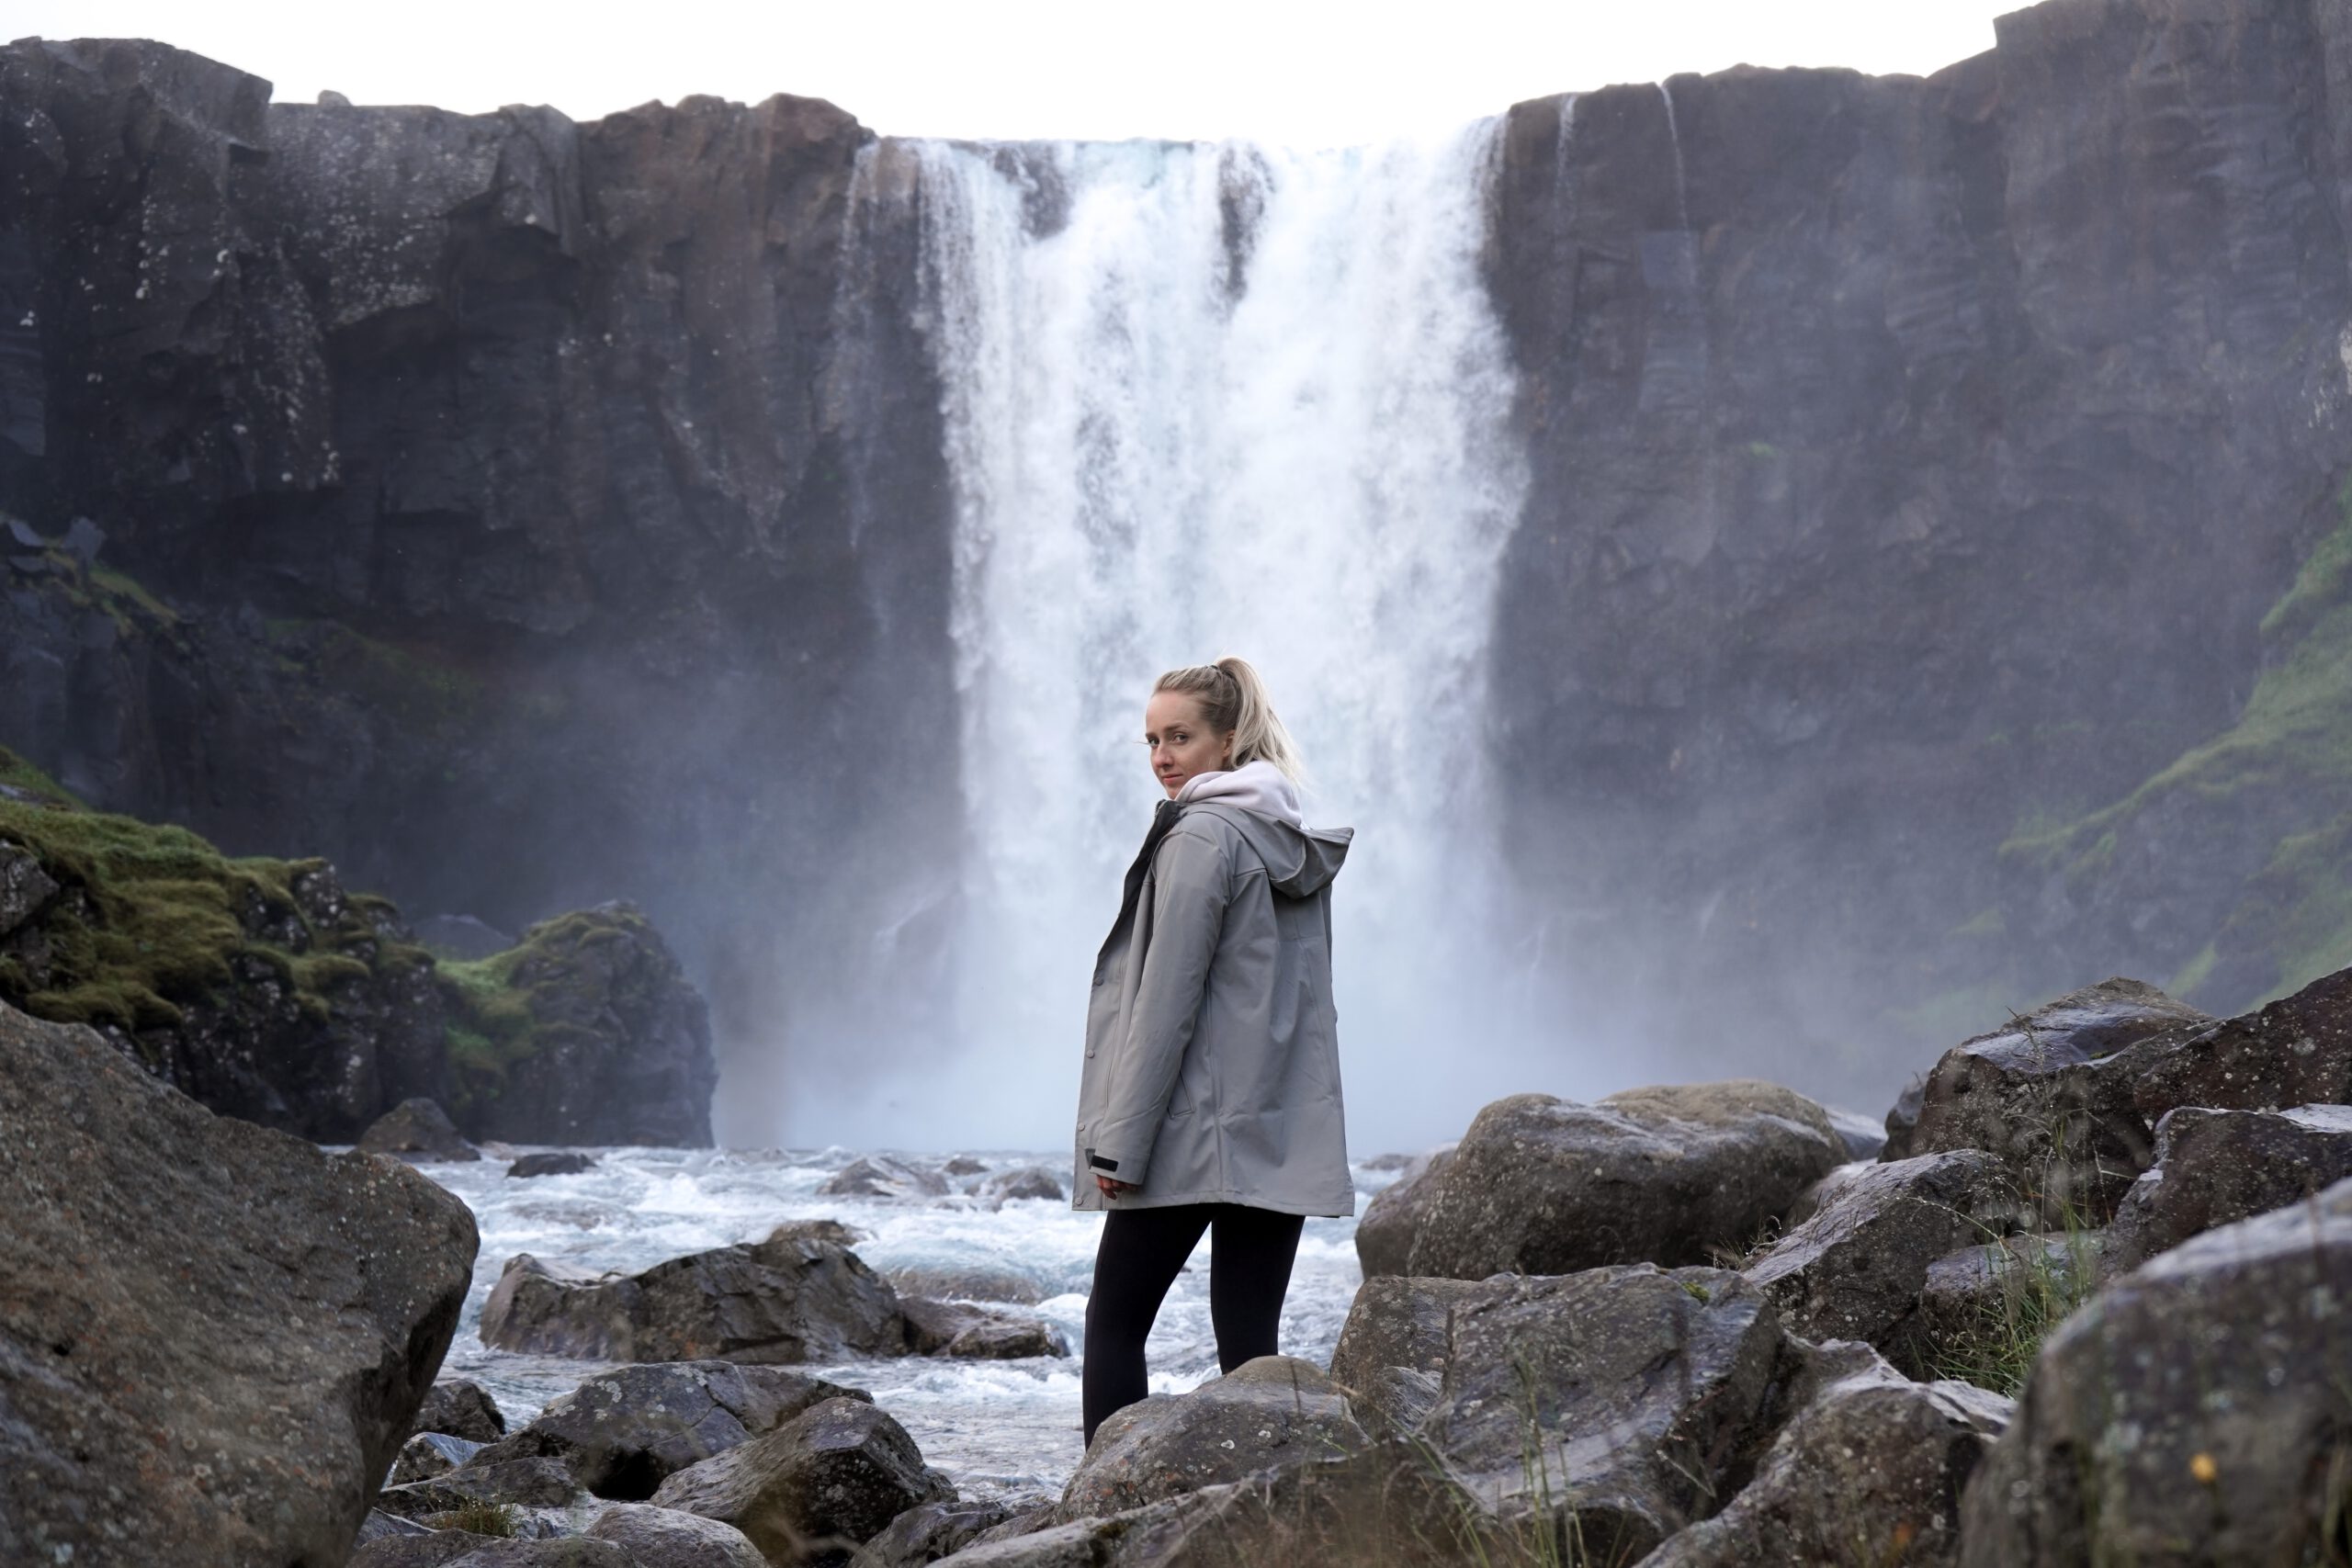
I prefer bright, sunny light or golden hour (that magical moment in the afternoon where everything has a warm, golden glow), preferably straight on the subject I try to make a photo of. On the other hand, I try to avoid backlight or dark moments, unless it’s to create a certain light effect.
Don’t be afraid to test out what works for you and play with different kinds of lights. 🙂
2. Get inspired by others
I love looking at others’ photos to get inspired. Don’t get me wrong – I hate copying other people’s work and don’t think anyone should do that. However, I do think you can learn a lot about angles, lighting and so much else by studying other people’s photos. I know I have! Seeing the techniques others use and trying them out for yourself is one of the quickest ways to up your game.
3. Try out different angles
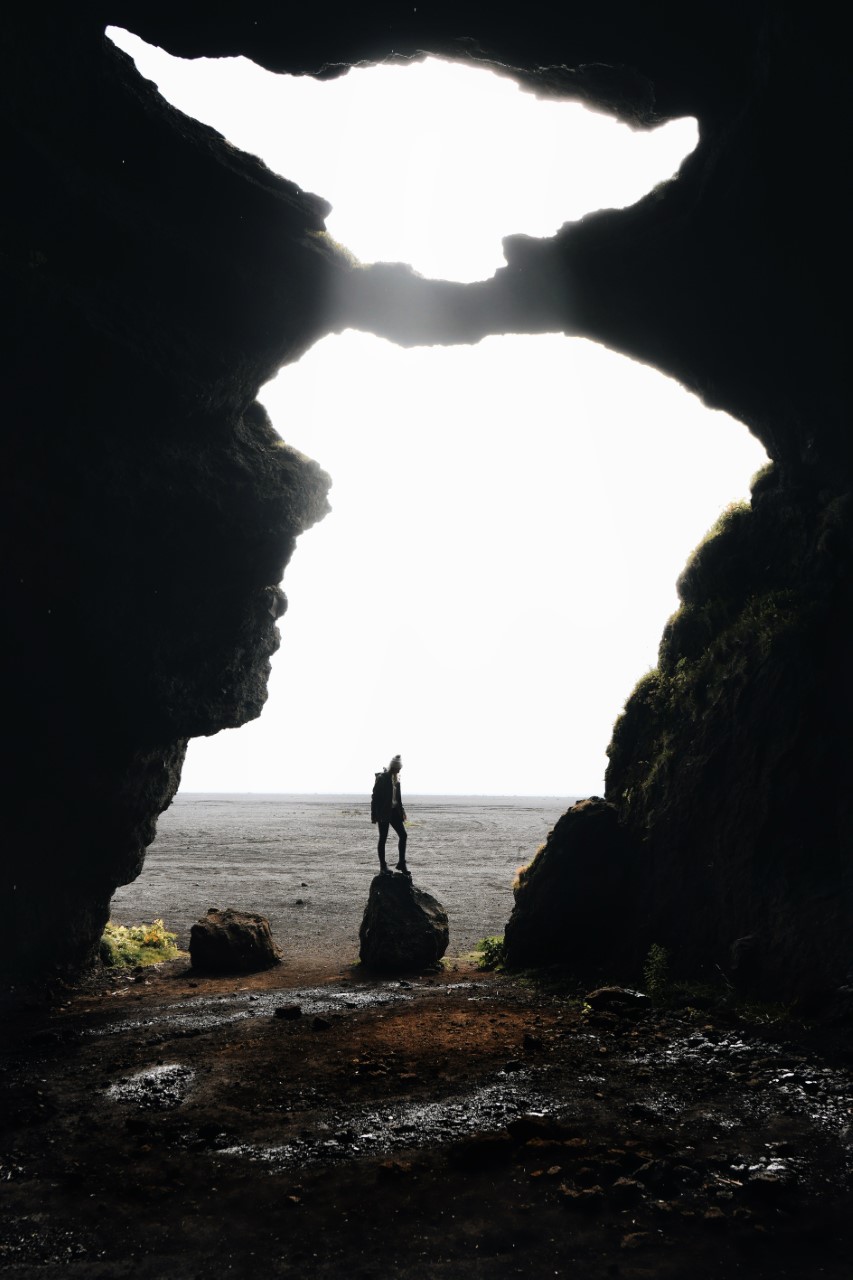
Angles are so important in photography! Don’t stick with the first angle you think of, but play around and try new things. You never know what might work!
Trust me, you don’t even want to know what I’ve looked like when taking some of my favorite shots. There have been times when I was laying in the dirt on the side of a cliff just to get a shot of an amazing canyon in Iceland. Don’t be afraid to get creative, that’s how unique shots are made! (That said, definitely do not do dangerous things to get a cool shot. I never, ever do. It’s not worth it and it gives me the chills when I see that.)
4. Use different cameras for different types of photos
If you ask me, the best collection of pictures from any destination comes from creating different shots with different cameras.
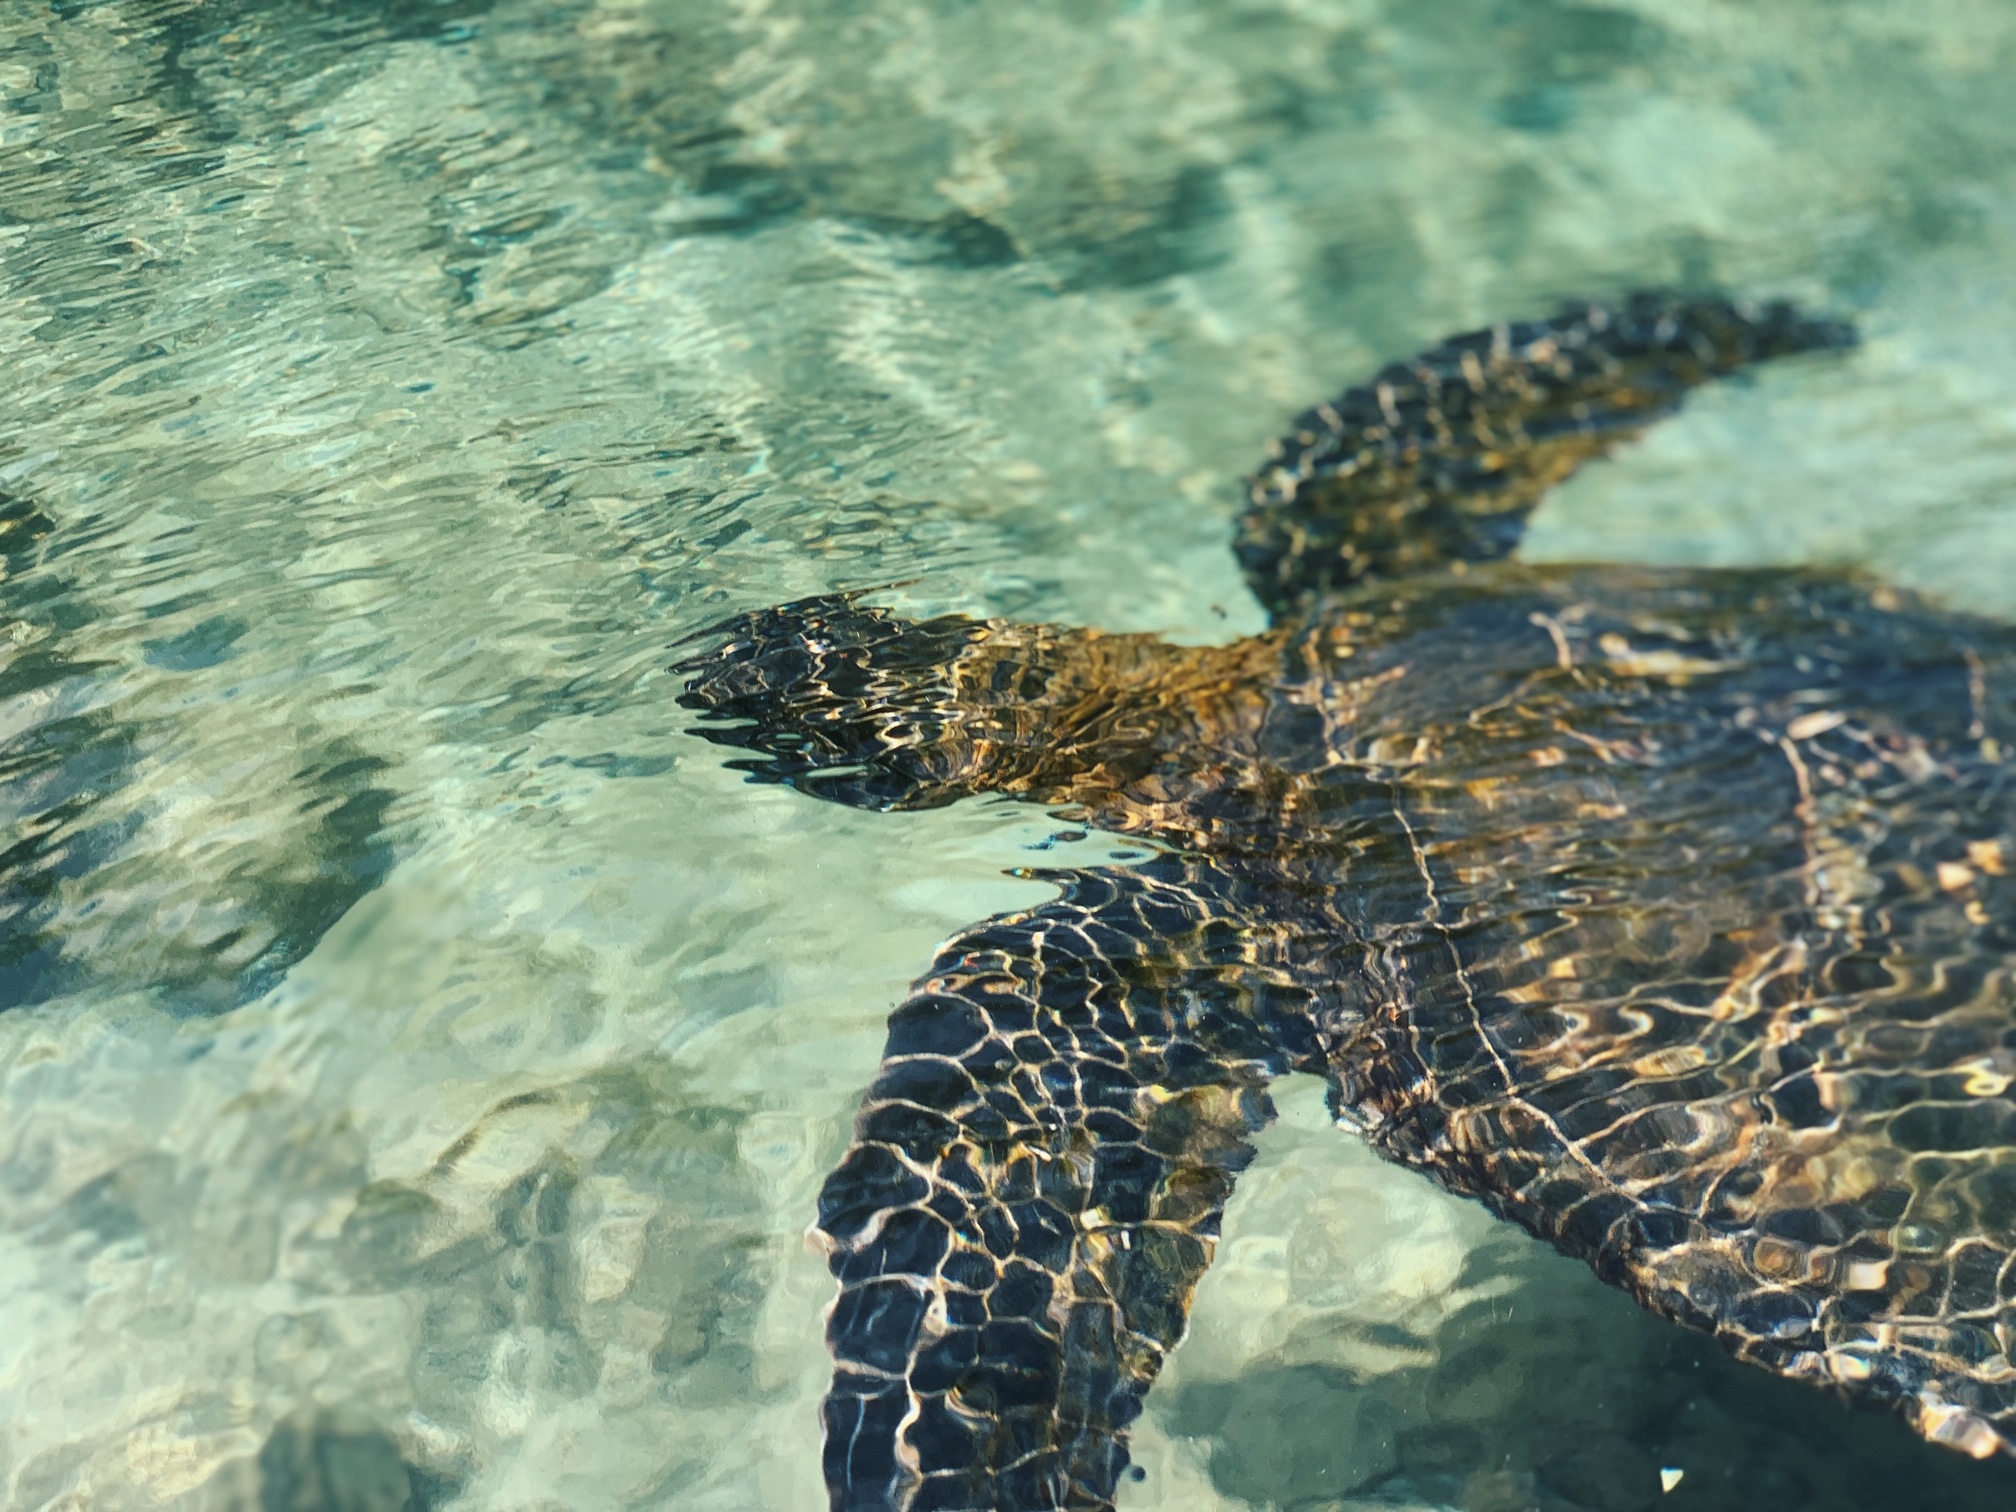
For example, on Hawaii I took photos with my iPhone, took out the GoPro when swimming with turtles (so amazing!) and used a drone for creating cool aerial shots. Together it is the most amazing collection of memories I could wish for! You can read more about the cameras I use in the second part of this guide.
5. Traveling by yourself? Use a tripod
Let’s be honest – most of us prefer having our picture taken by our partner, friends or family. I know I do!
However, whenever I’m by myself and need to have my picture taken, I prefer using a tripod. There’s only so many weirdly-cropped and finger-blurred pictures a girl can take! That’s why I have two tripods: one light-weight tripod for my phone and one that is better suited for my expensive camera (don’t want the wind to blow that one over, after all).
Use a remote shutter to get the moment just right, or use your phone/cameras self-timer if you can’t.
6. Practice to get better
Don’t be afraid to start at the beginning and practice, practice, practice to improve your photography game! I feel like most of us are so afraid of being bad at something that we often don’t really give ourselves the chance to try and really improve – myself included!
However, we all have to start somewhere. My photos have improved a lot since I first started this hobby. And now, I’m at a point where I can professionally sell my photography. And it’s cool to realize that if I keep improving and investing in better equipment, a few years from now I will not even recognize my photography from these days.
So, go for it! If I can, you can too. 😉
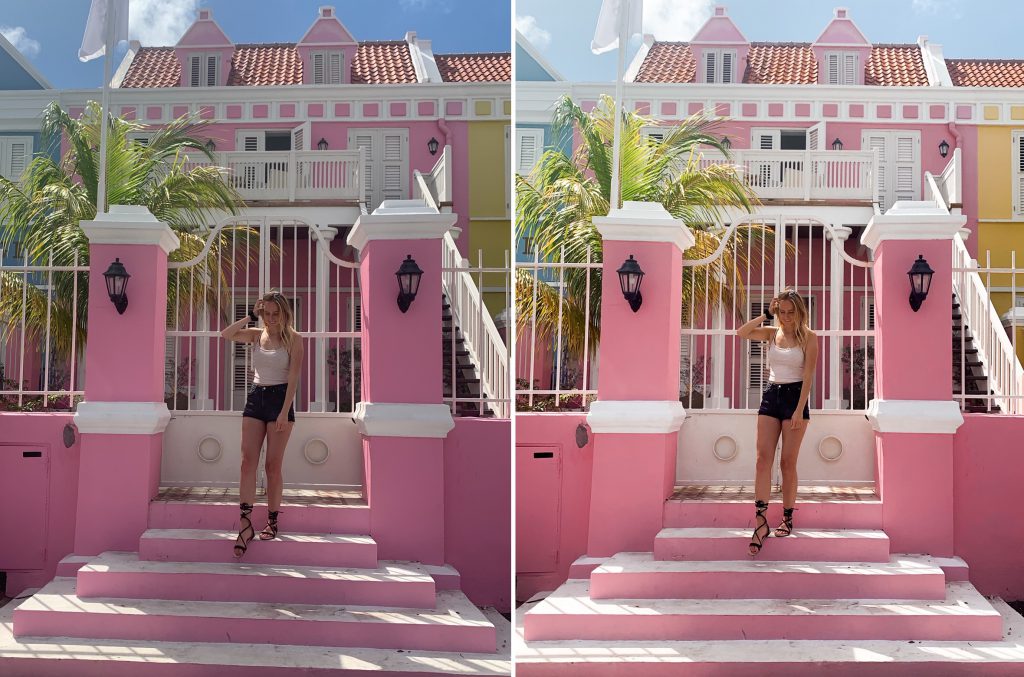
7. Learn to edit like a pro
Practicing your photography skills and using good cameras really are the first steps to creating incredible travel content. However, you can also make some true magic happen with good editing skills. But more on that later – first, let’s have a look at the cameras I use and would highly recommend!
II. The cameras I use
When it comes to travel photography, nothing beats a good camera!
Luckily, cameras really don’t have to be expensive these days. Depending on your budget and your level of photography, there are all kinds of options available. Wondering what camera you should get to give you those amazing travel pics? Here are all the cameras I have used for a long time and am still using these days.
- Sony A7 III as my go-to camera
- iPhone XS for quick snaps
- GoPro Hero 7 Black for underwater
- DJI Mavic Air for incredible aerial shots
my main camera: Sony A7 III
This is my go-to camera for travel photography. I invested in this camera last year as a way of upgrading my photography game and wow, do I love it! It is a little bit of an investment, so I did a lot of research on the best camera in this price range and this one came out on top every single time. And I get why!
The camera is amazing for both high quality photography and videography (4k videos anyone?), is super easy to use and has a pretty decent battery life if you ask me! Plus, it’s a full-frame camera, so the resultion is great, even in dark settings.
Why I love it: amazing quality + 4k video capabilities + very good price-quality ratio + good battery life
Where to buy: Amazon
for quick snaps: iPhone X (or newer)
If you don’t want to invest in a high-quality camera (yet), an iPhone is a great option. I went for a very long time shooting only on my iPhone and the results were amazing. I would recommend using an iPhone that has a portrait function, ’cause those are where the coolest shots come from! Personally, I use my iPhone XS, but I think the newer models have even better cameras.
My iPhone still is a big part of my camera gear for travel photography. I use it on days where I don’t have my camera with me and just want to take a quick snapshot.
Why I love it: great for less invested photographers + high quality photos + 4k video capabilities + it’s always with you and ready to shoot
Where to buy: a local carrier
A must-have if you want to take pictures underwater or doing (extreme) sports or other adventures!
I have the Hero 7 Black and I am so happy with it. Not only is the quality great, but it’s so much better than the 4, 5 and 6 – mostly in terms of stabilization. And that makes such a big difference, especially if you want to shoot videos. This model came out just before I left on my world trip in 2018 – I was stuck between choosing the 5 or the 6 and I am so happy I waited. Probably the only time my indecisiveness paid off! 🙂
If you’re looking to get a GoPro, I’d highly recommend it. You can also opt for the Hero 8 Black if you want to have the newest model, although I personally didn’t see that many difference with the 7. It’s also nearly twice as cheap now as when I got it, so it’s a very good deal!
Why I love it: must-have for underwater photography + good quality + great stabilization + good price
Where to buy: Amazon
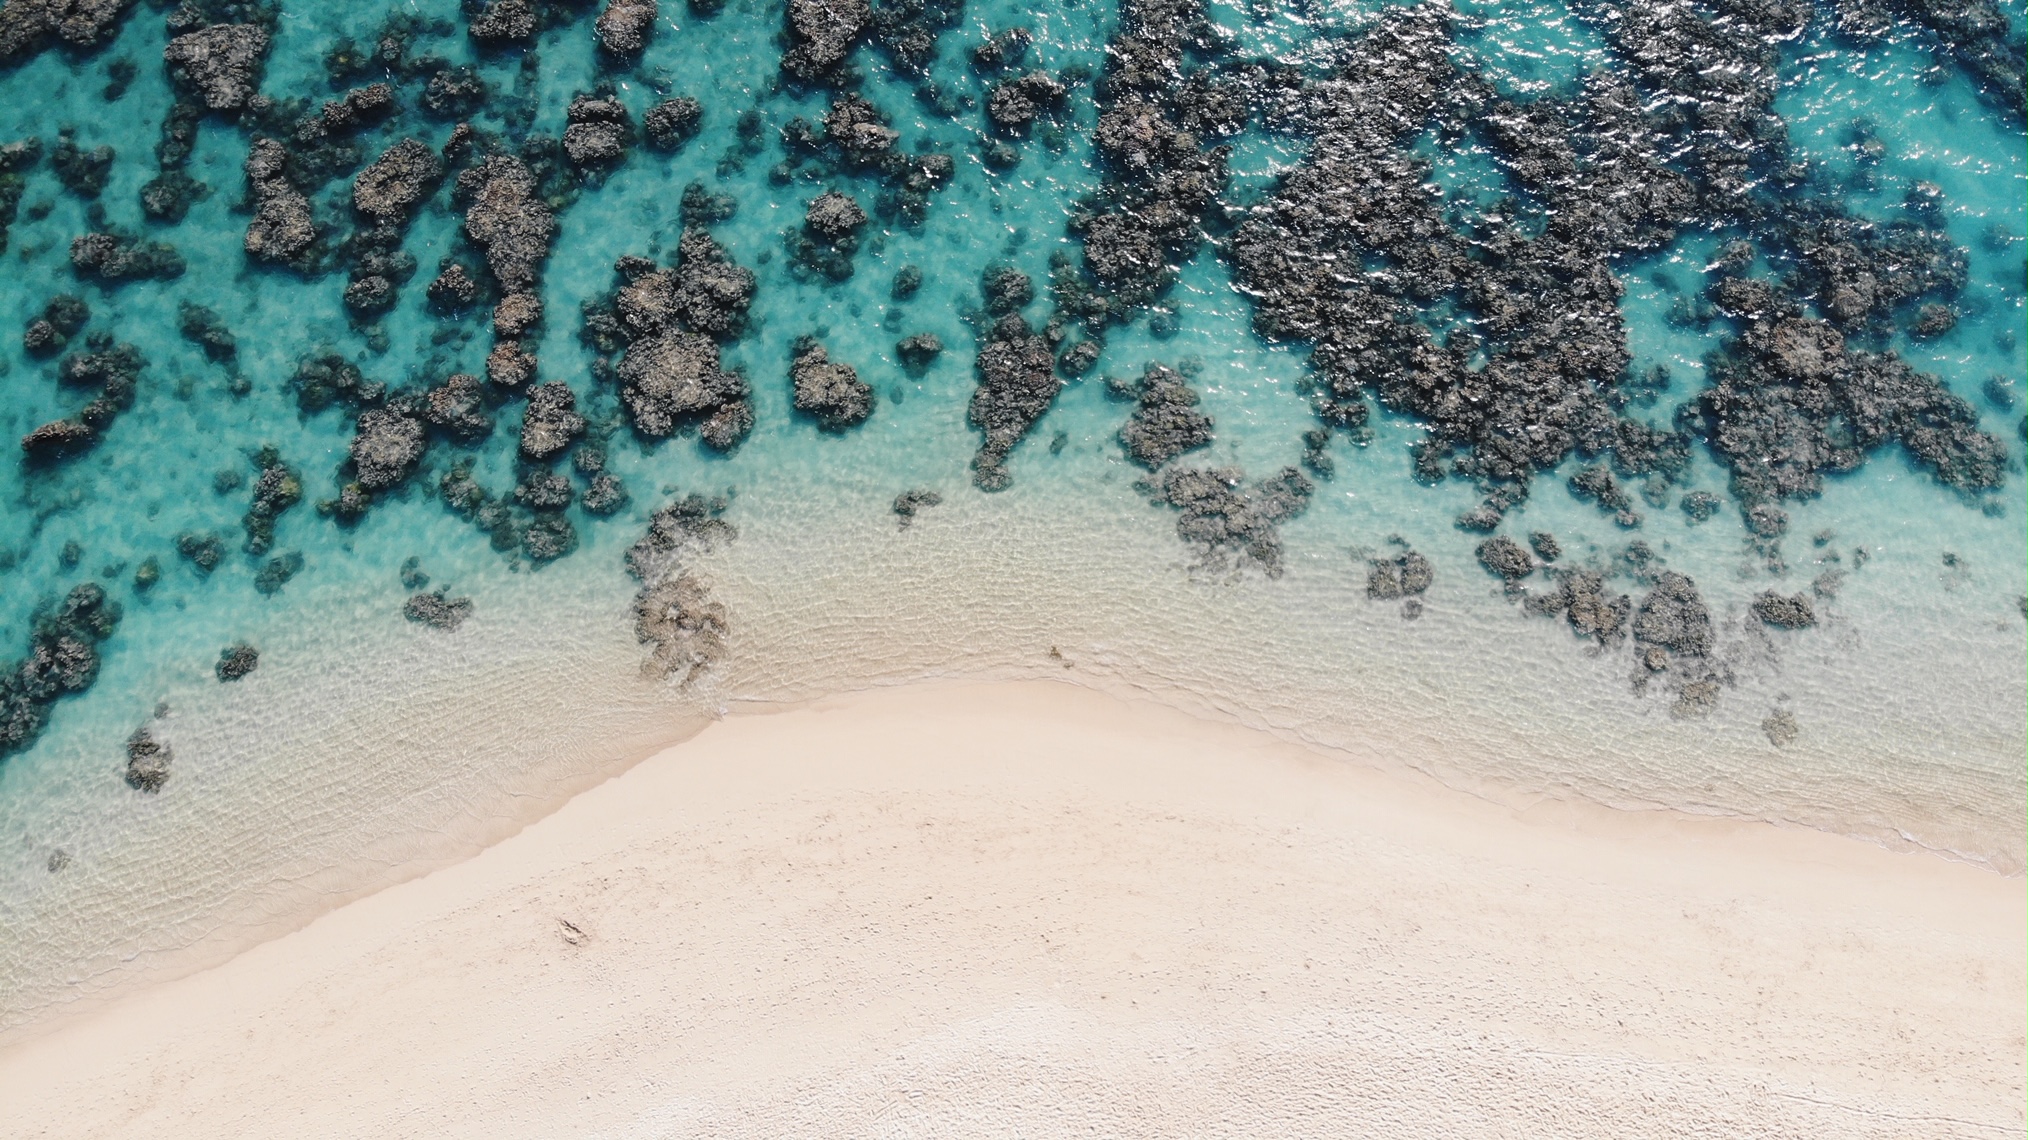
from above: DJI Mavic Air
This one’s for the drone lovers! I honestly love bringing a drone on every trip I go, because it gives you such a gorgeous view from up above. Some of my favorite photos of all my travels have been taken on a drone, so I never go anywhere without it anymore!
If you’re looking for a drone, I’d absolutely recommend the DJI Mavic Air. DJI is such a high quality brand and the Mavic Air is just perfect for travelers. The drone has amazing quality of photos and videos, but it’s also very small (a lot smaller than the Mavic Pro, for instance), so it fits nicely in your backpack. Plus, it is incredibly stable in-air and has super smart functions that make flying it a lot easier, such as obstacle avoidance.
I have used this drone for over two years now and still love it. I know DJI came up with a new version of the drone, the Mavic Air 2. I personally haven’t used it and don’t know anyone who has. However, I’m sure it’s just as great as the original. In anyway, the perfect drone for travelers! If you get it, make sure to opt for the ‘fly more combo’ – it comes with extra batteries and it’s much cheaper than buying them afterwards!
Why I love it: must-have for aerial photography + amazing photo and video quality + great sability and other smart functions
Where to buy: Amazon
III. The best editing tools
Now, let’s talk about the best tools for editing! I love the editing process, because you can really get creative with it. After using a good camera and keeping in mind some simple photography tips, editing is the last step for incredible travel photography.
Like good cameras, good editing tools have become more and more accessible. Even though I have computer software, I still prefer to edit most picture on my phone, just ’cause it’s so handy! So, let’s get into the best tools for editing, that’ll give your pics that magic touch.
Here are my favorite apps – all of which are free to use by the way. 🙂
Lightroom
I looove lightroom. It’s my go-to app for editing, because you can do so much with it! I use this app to do everything from cropping to color grading and adjusting highlights and shadows. Lightroom is part of the Adobe services, so you have to pay to access the desktop software. The app, however, is totally free and just as good. To be honest, I edit most of my pictures on my phone, simply because it’s so convenient.
VSCO
VSCO is another one of those apps that I’ve been using for years now and still love. Although I don’t use it as much these days, I still like to use the occassional filter to finish off an edit. I think it’s a great tool to start out with when you’re new to editing, or if you just want to have a quick fix for your photo.
Photoshop Fix
Photoshop Fix is one of those photography apps I sometimes really can’t live without. You won’t find me photoshopping holiday snaps into unrealistic masterpieces for the ‘gram on it. Nope, the main reason I like to use it is to get rid of any unwanted fellow tourists. Both ’cause photobombers can spoil your picture a little bit (let’s be honest) and for their privacy.
Facetune
I don’t use Facetune for the perfect selfie, but it’s super handy to smooth out certain small irregularities in texture. Although I usually go to Photoshop Fix first, there are certain features of Facetune that Photoshop doesn’t offer. I especially love the whiten and vibrance features of the app!
There you go, my complete guide for travel photography. With these tips, I hope you can step up your photography game and create amazing visual memories for yourself. If you have any questions, want to hear my experience or want to share your thoughts, I’d love to hear from you on Instagram!